
#SU! Raised Letter Technique

I'm excited to share this technique with you. As I mention in the video that you can find below, this technique isn't new.


Years ago, I made cards with this technique but used multiple layers of card stock in order to do so.

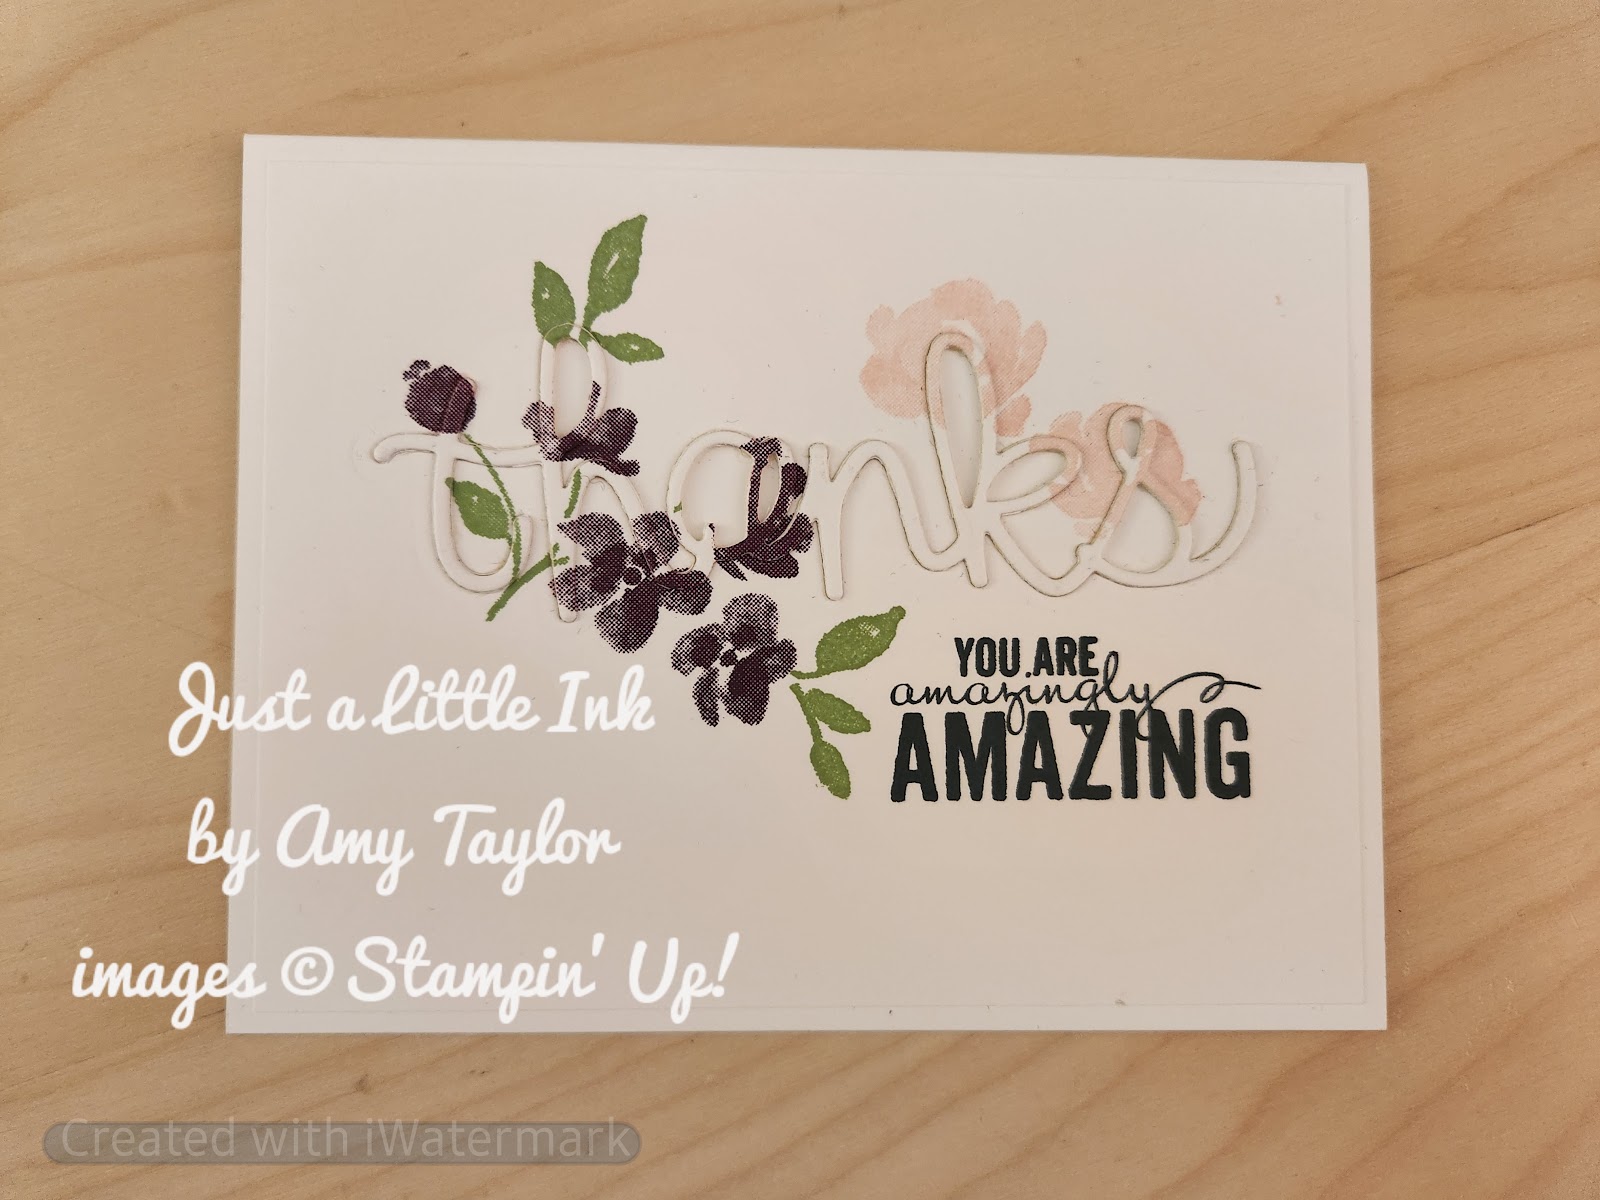
Using the Foam Adhesive Sheets, this technique is so much easier. I hope you'll watch the video I put together below, as I step you through all the steps to make this beautiful card:


Please consider subscribing to my YouTube channel if you haven't already.  


All supplies can be purchased through my online store: justalttleink.stampinup.net 24/7. And, I've made it easy for you to order. Just click on the photos below for the products you are interested in.

Here are the measurements:

Mango Melody cardstock: 5-1/2" x 8-1/2", scored along the 8-1/2" side at 4-1/4"
Garden Green cardstock: 5-1/4" x 4"
Very Vanilla cardstock: 5-1/8" x 3-7/8" (cut 2); 3/4" x 3-1/4" for the greeting


Let me know if you have any questions, and I love to hear your comments as well as photos of the cards you make using this technique.

Product List
Art Gallery Photopolymer Stamp Set
$22.00
Floral Gallery Dies
$34.00
Stampin' Cut & Emboss Machine
$125.00
Foam Adhesive Sheets
$8.00
Mango Melody 8-1/2" X 11" Cardstock
$9.25
Garden Green 8-1/2" X 11" Cardstock
$9.25
Very Vanilla 8-1/2" X 11" Cardstock
$10.25
Mango Melody Classic Stampin' Pad
$8.00
Garden Green Classic Stampin' Pad
$8.00
Garden Green Stampin' Write Marker
100080
$3.50
Mini Stampin' Dimensionals
$4.25
Brushed Brass Butterflies
$10.00

Comments

Popular posts from this blog

2011 Desktop Calendar

This month in my stamp club meetings, I had the gals make these desktop calendars. It was a big hit. The image to the left of the calendar can be changed according to the season (winter, spring, summer & fall) by removing the image and placing one of the other 3 onto the velcro dot (attached behind the image). The corresponding side of the velcro dot is placed on the back side of the images. I used the stamp set A Flower for all Seasons , #111592, $14.95. And, the extra images are stored inside in a small cellophane bag. The calendar base takes only 1 sheet of card stock to make, measuring 9" x 6-1/2". With simple scoring and folding, it goes together very quickly. Another demonstrator had shared the calendar file that is printed onto printer paper and cut to size. All fit into the 1/2" library clip from the clips assortment (#112580; $6.95). There are 8 of them included in the package along with a couple of other style of paper clips. While they are still ...

Sunflower 3D Embossing Folder Techniques

  Do you ever need a quick, but 'wow' kind of card? When don't you, would be my response! That was the inspiration for this weeks card and video tutorial. The Sunflower 3D Embossing Folder is part of the next round of Online Exclusive products that will be available for purchase beginning July 1st. This huge embossing folder creates an intricate and detailed 'image' perfect for simple to elaborate projects. Since I'm more of a simple project kind of gal, that's the direction I went with. Here are the measurements: Crumb Cake (card base) cardstock: 8 1/2" x 5 1/2", 2 1/2" x 3/4" Mossy Meadow (layer) cardstock: 5" x 3 3/4" Crushed Curry (focal) cardstock: 4 3/4" x 4") Here is the video tutorial where I share this technique and one more as well as share some additional color combinations at the end: As always, thank you for subscribing, liking, sharing and commenting! For ease of ordering, simply click on the photos below...

#SU! Christmas Season Simple Elegance Card

When you participate in a swap with other Stampin' Up! Demonstrators, you often get some great ideas! Such was the case this month for me. I received in the mail a swap I participated in (hint: I share the card sent to me in my video tutorial!) this month. My good friend often includes me in her team swaps, and I'm so grateful. I loved the layout and immediately thought of the Christmas Season stamp set. This layout goes together so quickly that you could easily put together a stack of Christmas cards in no time. Change up the colors, and have a variety, or keep them all the same. Whatever you decide, I hope you'll try this out. Here are the measurements for the card: Sahara Sand cardstock: 5-1/2"x8-1/2", scored at 4-1/4" horizontally  Blackberry Bliss cardstock: 3-7/8"x5-1/8" Basic White cardstock: 3-3/4"x5"; 4"x5-1/4" (inside); scrap for the greeting large enough to be cut from the Picture This Die Vellum cardstock : 1-1/8...