
May Class Projects

After my long hiatus, I'm finally getting the projects we made this last month posted. I can't claim the creativity for most of them, as I CASED (copy and share everything) all but one, with minor tweaks!
This first card idea I actually came up with all on my own!  Now normally, that wouldn't require a big  "wow", but lately....well, the creative MOJO just hasn't been there.

Inside view.  I really liked using the Chalkboard paper and Chalk Ink, and will miss them not being a part of the Stampin' Up! line.
This card uses a layout from a convention swap I received a couple years ago.  The paper and accessories that the demonstrator had used were long retired, so I refreshed it with current (well at least they were through yesterday!) ones.
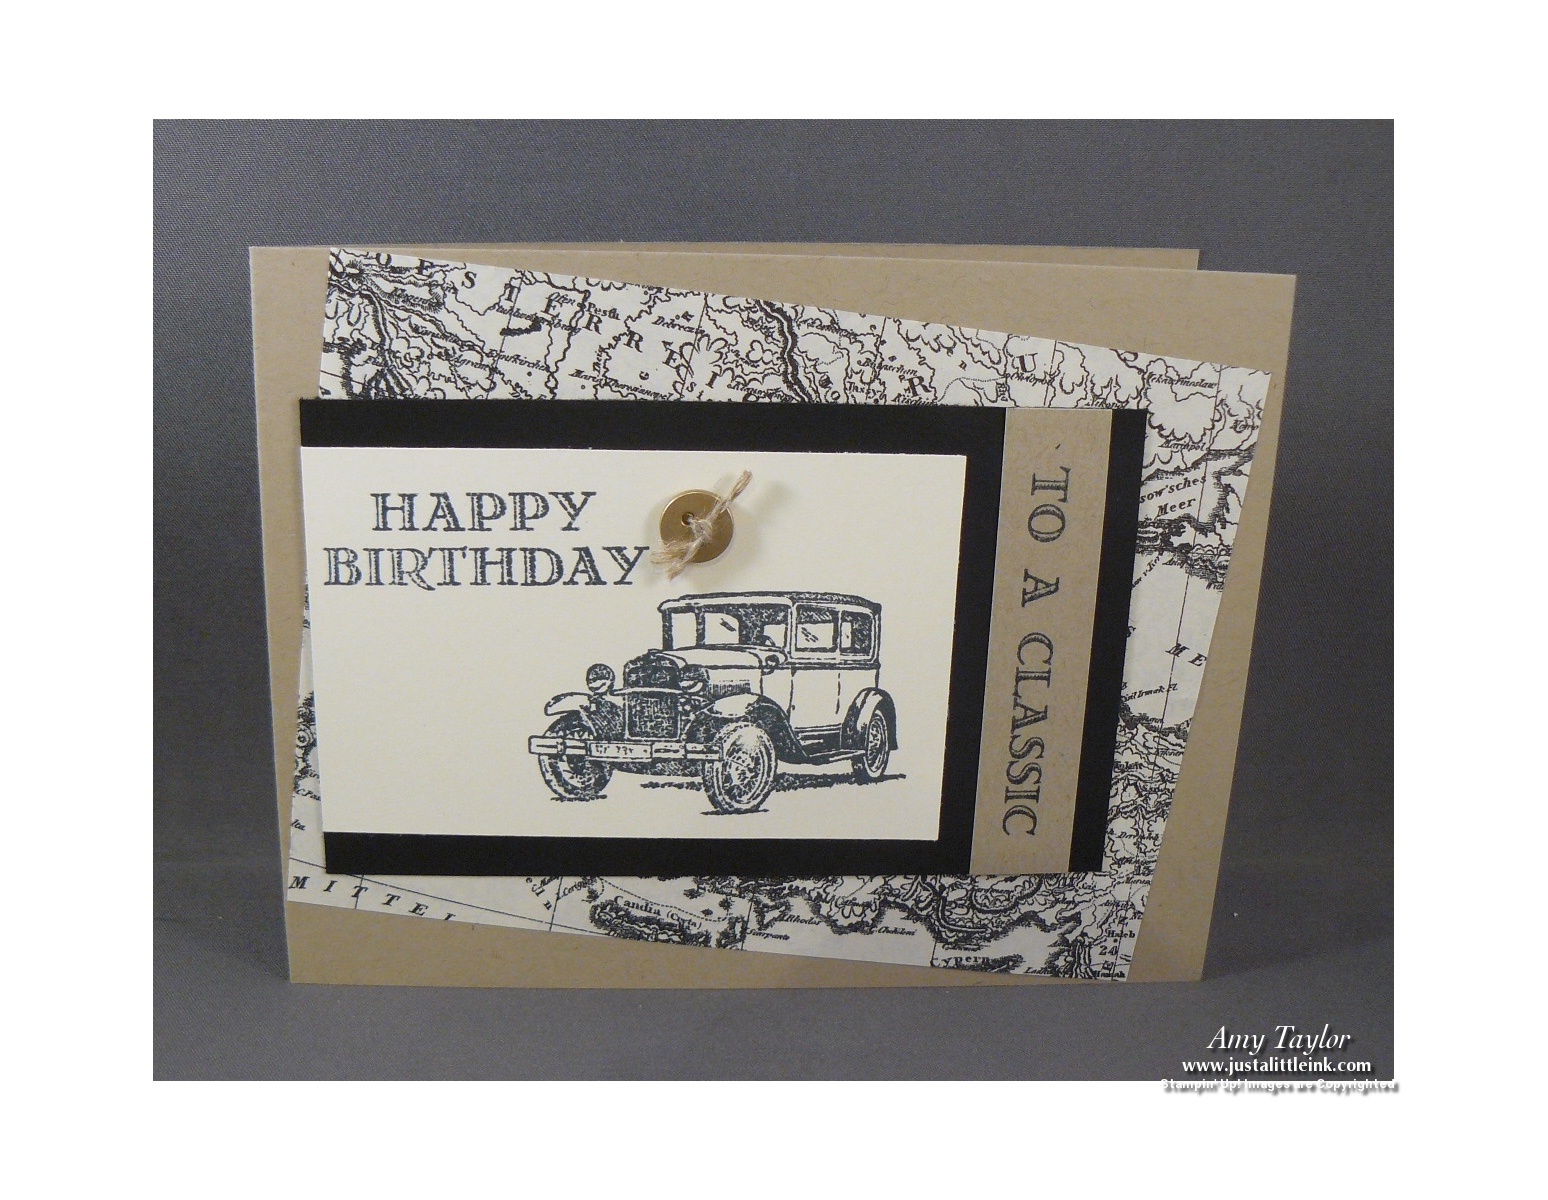
Finally, we made this very manly birthday card.  The complete idea came from the display boards at the Leadership conference I attended back in Januay.  I'm so happy that this stamp set made it into the new catalog!

Just goes to show you that you can find inspiration everywhere.  I hope I've inspired you with these projects too.

Comments

Popular posts from this blog

2011 Desktop Calendar

This month in my stamp club meetings, I had the gals make these desktop calendars. It was a big hit. The image to the left of the calendar can be changed according to the season (winter, spring, summer & fall) by removing the image and placing one of the other 3 onto the velcro dot (attached behind the image). The corresponding side of the velcro dot is placed on the back side of the images. I used the stamp set A Flower for all Seasons , #111592, $14.95. And, the extra images are stored inside in a small cellophane bag. The calendar base takes only 1 sheet of card stock to make, measuring 9" x 6-1/2". With simple scoring and folding, it goes together very quickly. Another demonstrator had shared the calendar file that is printed onto printer paper and cut to size. All fit into the 1/2" library clip from the clips assortment (#112580; $6.95). There are 8 of them included in the package along with a couple of other style of paper clips. While they are still ...

#SU! Christmas Season Simple Elegance Card

When you participate in a swap with other Stampin' Up! Demonstrators, you often get some great ideas! Such was the case this month for me. I received in the mail a swap I participated in (hint: I share the card sent to me in my video tutorial!) this month. My good friend often includes me in her team swaps, and I'm so grateful. I loved the layout and immediately thought of the Christmas Season stamp set. This layout goes together so quickly that you could easily put together a stack of Christmas cards in no time. Change up the colors, and have a variety, or keep them all the same. Whatever you decide, I hope you'll try this out. Here are the measurements for the card: Sahara Sand cardstock: 5-1/2"x8-1/2", scored at 4-1/4" horizontally  Blackberry Bliss cardstock: 3-7/8"x5-1/8" Basic White cardstock: 3-3/4"x5"; 4"x5-1/4" (inside); scrap for the greeting large enough to be cut from the Picture This Die Vellum cardstock : 1-1/8...

Accordion Z-Fold Card Tutorial

  If you've been following me for awhile now, you know that I love the z-fold card. It's simple and yet a real "wow" for the recipient.  Today's card adds just a little twist, a few more folds. And, it's a great way to show-off the beautiful Designer Series Papers that Stampin' Up! sells too. I put together a video showing all the steps to put together this fun-fold card. And, at the end I share a few more projects that I made using it. I hope you'll check it out.  Measurements: Evening Evergreen cardstock: 5-1/2" x 11", score along the 11" side at 1-3/4", 3-1/2", 5-1/4" & 7"; 3" x 6", score along the 6" side at 3" Fitting Florets Designer Series Paper: 2 pieces cut at 1-1/2" x 5-1/4" and 2 pieces cut at 2-3/4" x 2-3/4" Basic White cardstock: 3-3/4" x 5-1/4" and one piece 3" x 3"  Be sure to use the November host code: PA43R2KF (good through 11/30/2022) ...